If you read Joshua’s advice on storing your roasted coffee beans correctly, it’s now time to move on to his words of wisdom about preparing the perfect brew. But don’t expect to get it right the first time. Making good coffee is a fine balance between art and science and learning to do it right contributes to the enjoyment of the final output.
Joshua Says:
“Well first of all I’d like to say that everyone’s tastes are different, but there is a gamut of reasonableness when it comes to preparing coffee. If you’re too far out of that gamut it’s likely that your brews will taste horrible even for the most tolerant of palates. If I had to break it down it’d go something like this:
First and foremost, enjoy experimenting. Remember that’s the only way you’ll get a feel for it. Don’t be discouraged if you have the odd disaster because it’s those that ultimately steer you in the right direction. Then, all of a sudden, you’ll hit the mark and be running ‘round trying to find someone to prove that it’s not just you; that you’ve actually managed to achieve a perfect brew. Of course, keep in mind what you did so you can repeat it : )
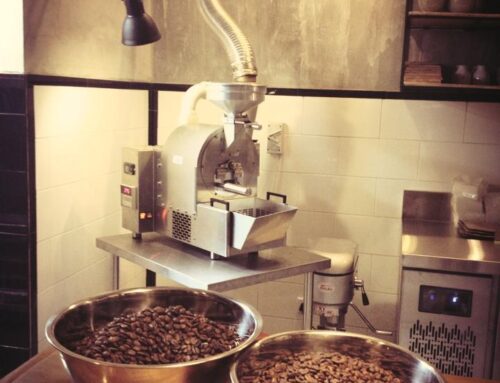
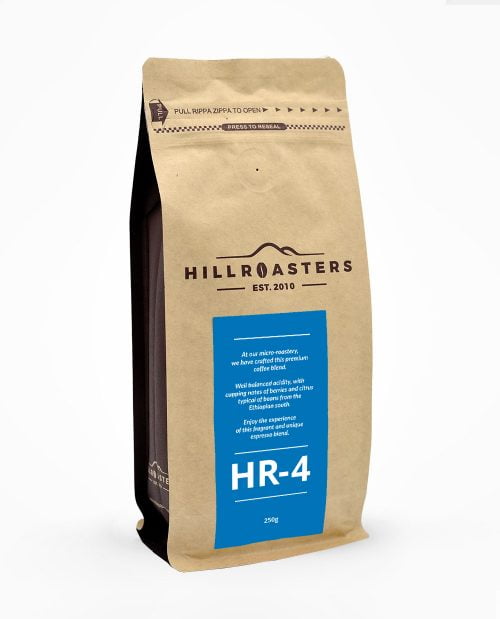
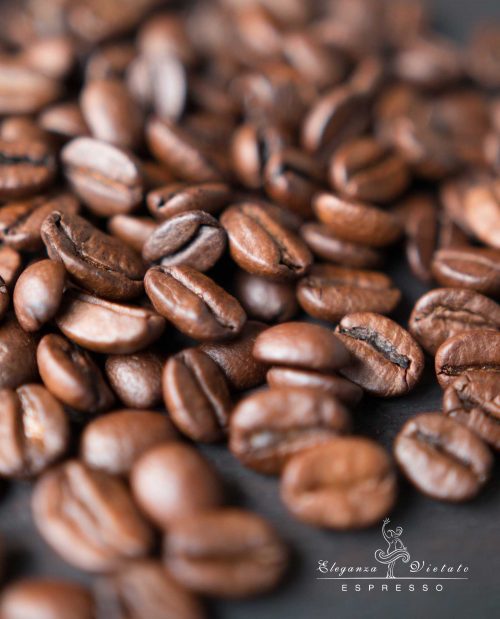
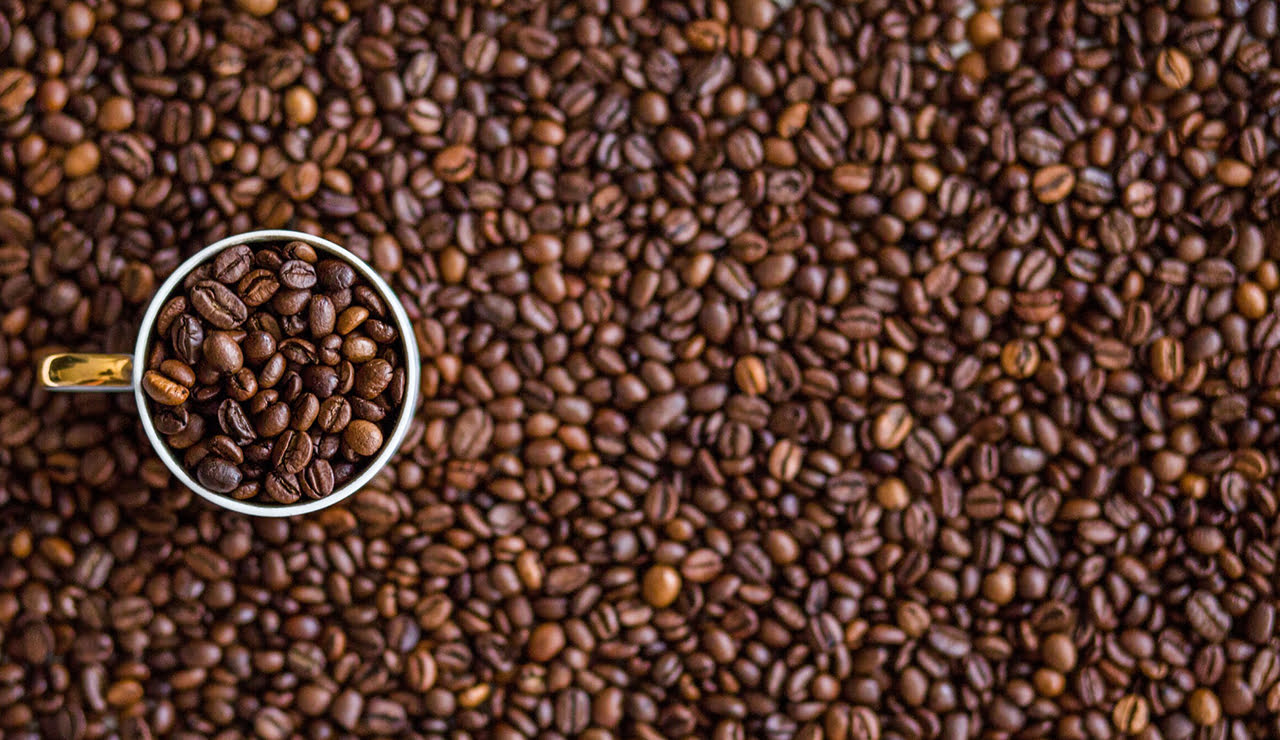
If you’re using my roasted coffee beans, you’re already on track. Choosing the right beans for freshness and knowing that they’ve been roasted to perfection is paramount. Without fresh, perfectly roasted coffee beans, you’re sunk before you start!
For maximum flavor, freshness is key! So check the date on the bags as an essential part of your procedure. You’re looking for what I call the “Flavour window” which is optimal between one to three weeks after roasting. Of course you can use the beans outside of that window, but be prepared to take a hit in terms of flavor.
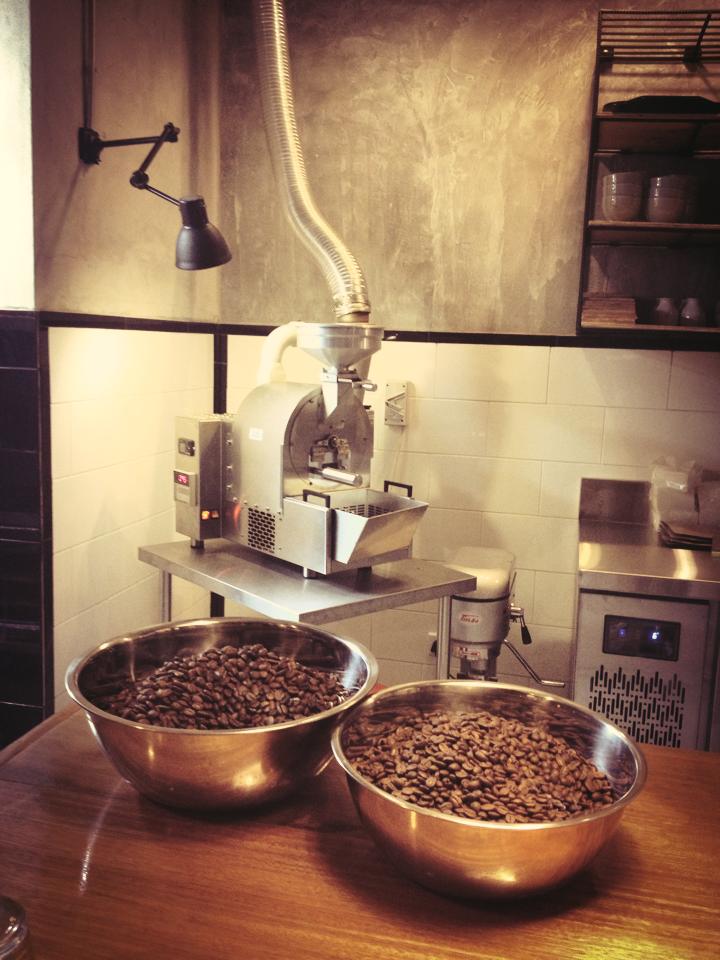
Finding the prefect grind for your equipment is probably what will take up most of your time experimenting. I never use a filter, but if that’s all you’ve got you can still achieve a reasonable brew. It all comes down to the grind. Beans that are to be filtered should be ground to roughly the size of cracked pepper; grainy but the particles shouldn’t be too large. The filtering time depends on the filter you’re using, but an average of 180 seconds is a good starting point after the grind has been primed. To prime it, first pour 30ml of freshly boiled water into the mix, slowly and in a circular pattern ‘till all the grinds are moist. Then follow on immediately with the rest using a similar pattern ‘till your cup is full.
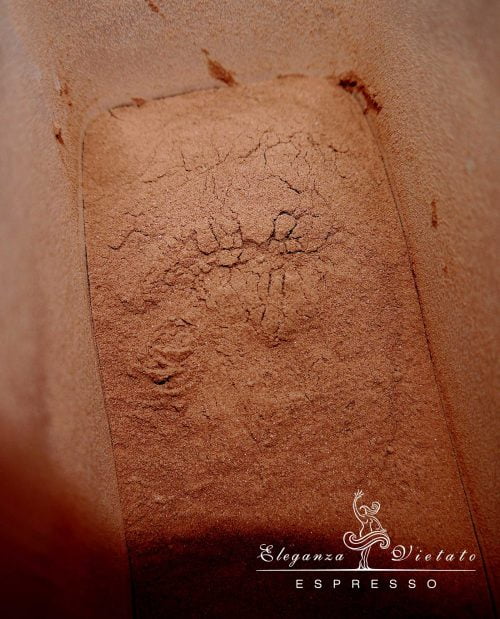
If you’re using a grip, and pressurized espresso machine, here’s how I do it and please take heed that the procedure is different for manual presses’ like the ROK. I’ll cover those in a later session. Again, getting the grind right is pivotal, but this time we’re aiming for a different consistency altogether. The texture you’re aiming for should be powdery but not so much so that you can’t feel the particles by rolling them between your fingers. You know you’ve got it right when the grind holds together when pinched, but not so tightly as to form a solid. Releasing the pinch creates the effect that the grind wants to break itself up again ever so slowly, just under the weight of it’s own gravity.
Next, check your gear. If you’re a stickler for detail like me you would have done so before preparing the grind. I am fastidious about my equipment because I know how amazingly sensitive coffee is to external influences. Make sure it’s all spotless and perfectly dry before you take the pull.
Now we pack the filter. I like to fill it just above half way, then tap outlet lightly on the bench three or four times to let the grind settle. Then I fill it to the top and give it two more slightly firmer taps. Taking the tamper, I press down with a bias, then “roll” it around the top of the basket gently but firmly and in one sweep, until the grind is perfectly flat and even and only about two millimeters below the top rim of the filter. This helps it sit snug, but not too tightly against the bottom of the machine head. If it’s too tight, not all of it will get soaked and if it’s too loose, too much of it. Both of these scenarios will affect the flavor negatively.
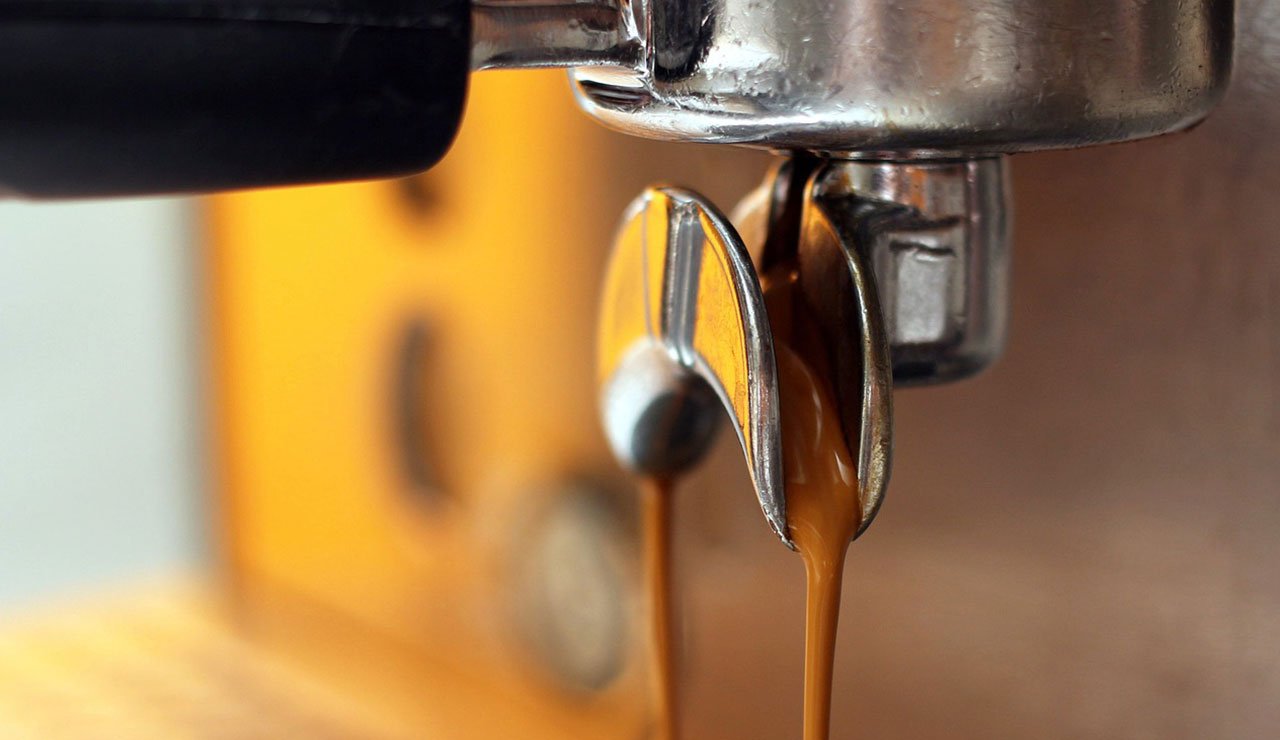
Now it’s ready. We’re looking for a clean shot that should take 30 to 40 seconds maximum to produce. Activate the machine and watch (and smell) as closely as you can as it pours. What’s happening is the heat and pressure are bearing down onto the contents of the grip; interacting with the density you packed. If you got the density right, first you’ll see an initial drip that will appear quite bubbly, then you’ll see the bulk of it come through in an even stream. That’s the resistance and also the bulk of the flavour being “infused” into the hot water and when it’s done, there’ll be a few more bubbly drips. You’ll know if it’s overdone because the coffee will have a burnt flavor to it; slightly bitter and definitely not smooth. So next time, give it a bit less time and gradually you’ll get a feel for perfect timing under your own conditions. It’s a bit tricky because it all begins with the perfectly roasted bean and grind. That’s what ultimately influences how you do the pull.
Oh! and give yourself a pat on the back if you get a good, generous crema. That’s a sure sign you got it right. The crema speaks to the quality and freshness of the beans as well as how well tuned the grind is to your particular machine. Not only that, a good crema also shows how well you’ve “read” the machine as it does its work.”


